Tips on How to Pose Subjects for a Group Photo
Camera TipsPhoto Print Pictures November 11, 2015 Editorial Staff 0
Having a group photo whether formal or informal has always been very popular at social gatherings. But now, it has even become de riueur to take group pictures at any occasion since almost everyone these days have excellent digital cameras on their phones.
Unfortunately, not everyone can take group pictures that they can be proud of. So how can you do a snap of your group that you won’t be ashamed to share with others? The key according to some experts is in the proper positioning of the subjects. Here are some tips on how to pose the people in your group:
1. Don’t have people standing or sitting in a straight line.
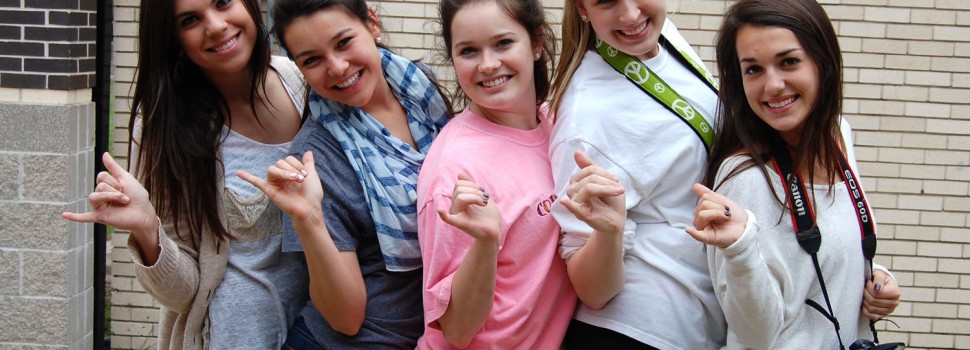
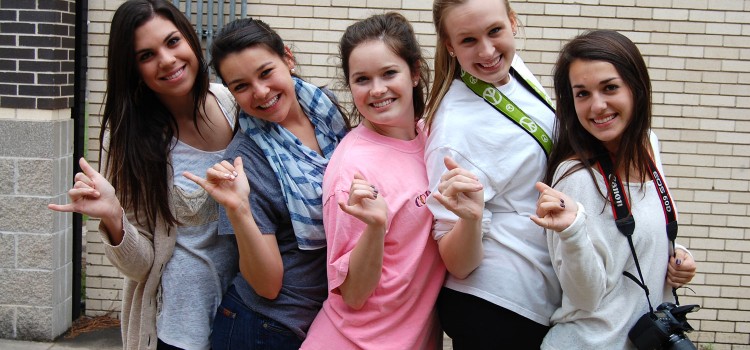
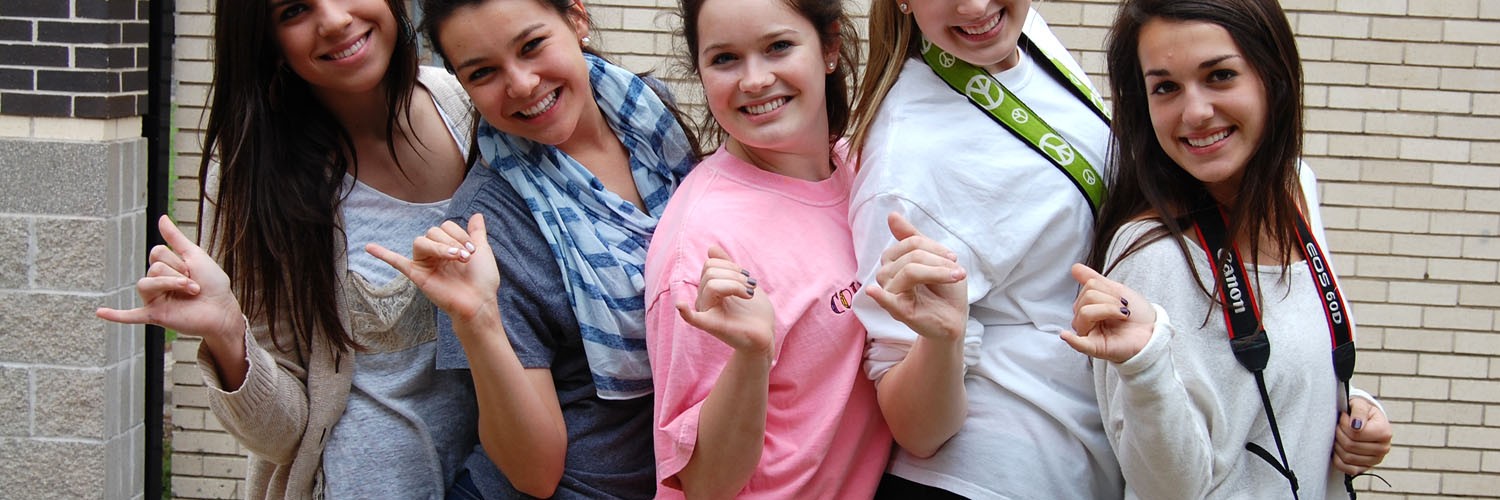
Arrange them so that their heads are on different levels in a grid-like pattern. Alternatively, you can use an apex-like pattern, a “triangle” arrangement where the bottom is wider and where only one person will be seen at the top of the pose.
A rule of thumb is that taller people should go to the back while the shorter people are posed to the front or sides in large group shots. Or you can position them on a stairway or some other location where their heads are on different levels in either a grid or apex pattern. Both the grid and the apex patterns can achieve the effect of making the group look like a single cohesive unit.
2. Don’t let anyone’s face be covered.
Before taking the shot, scan the group to make sure that everyone can be clearly seen by the camera.
3. Get your subjects to relax before you begin.

No one wants to look stiff and self-conscious in a picture. Take the more formal photos at the beginning of a shoot when everyone is still looking their best and are still attentive to your directions. At this point for instance, don’t allow two adjacent persons to both cross their arms. Don’t allow the group to be spread too far apart.
After you’re done with the formal shots, you can experiment with some informal poses. For example, you can have some or all of them pose anyway they want while sprawled on the floor. Again, use the grid or the apex pattern to select the best angles to be shot. Just because you’re already having fun doesn’t mean you can’t make the informal group picture look cohesive.
4. The most important people should be at the center of the shot.
On special occasions, ensure that one or two of the most important people in the group, say the bride and groom in a wedding reception, are positioned at the center of the shot. In, say, an office outing, that center of the shot can be your boss or team leader.
5. Take multiple shots
Say at, 3 frames per second to allow you later to make some post production editing in order to create the perfect shot. This gives you room to put together multiple shots to fix the image of those who are not looking at the camera and those who were covered up.
6. Keep in mind that good lighting is important.
On a bright sunny day, for an outdoor shoot, don’t let the people in your group looking directly into the sun. For an indoor take, don’t let the lights get too close to the group so that one person’s shadow falls on the next person.
Afterwards, head over to Walmart Photo to print these wonderful pictures!
No comments so far.
Be first to leave comment below.