Night Photography Tips for Travelers
Photo Taking Tips December 18, 2015 Editorial Staff 0
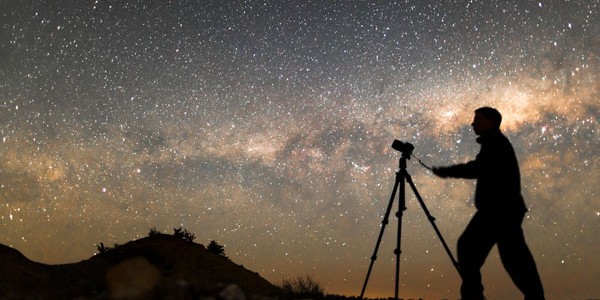
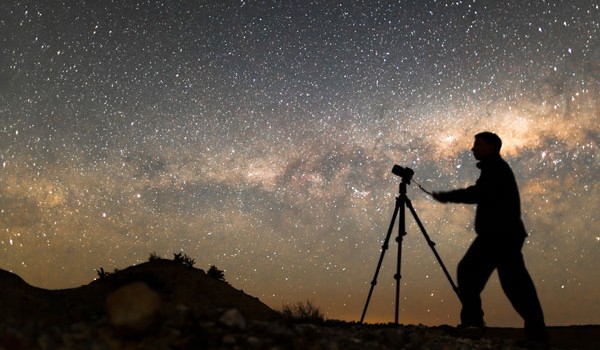
Travelers and tourists typically take photos to remember by their sojourns on distant shores. Typically too, these pictures they take are of daytime outdoor sceneries. But what if they want to take some nice dramatic night shots of the landscape or cityscape of the places they visit? Unfortunately, night photography is a very challenging subject even for many professional photographers. If they want to do night photography on their travels, here are some tips from the experts:
Bring along the right gear
For night photography, a tripod is practically indispensible because of the longer exposure times it requires. When shooting at night, you will obviously need to use slow shutter speeds that if done hand-held would likely result to very poor quality images. If you want sharp pictures, you’ll have to attach your digital camera securely to a tripod. Of course, you should remember to keep your hands off the trpod as you shoot since any slight movement can blur your photos.
Aside from the tripod, your camera should be equipped with wide-angle lenses and should be capable of being set into manual focus. Turn off the autofocus feature of your digital camera and select manual exposure so you can set the shutter speed to around 30 seconds and the aperture to f/8, and the ISO to 200. Other camera settings recommended by night photography experts include setting the drive mode to single shot, enabling long exposure noise reduction in the shooting menu, setting the white balance to the tungsten/incandescent pre-set, and selecting RAW file format which gives you the option of altering the white balance later on your computer during editing and post-production.
Additionally, you may want to use a lens hoo to minimize lens flares from light entering at angles outside of your frame as well as a flashlight or portable light source to illuminate an important part of the foreground which may be too dark to be captured on film.
Select your location and get there early enough before the actual shoot
Planning ahead will save you valuable vacation time. Pick good locations in advance by scouting out the best spots with the most interesting lights and architecture in your travel destination. Get inspiration from the photos already posted online about the place by other travelers and tourists.
Practice
Since you’ve set your camera on manual mode, you may have to do a lot of experimenting before you can get the most appropriate aperture and other settings for your nightime subjects. To help beginners, here’s a cheatsheet for the settings to be used on certain popular subjects from longtime night photographer Jeff Meyer:
| Subject | Shutter Speed | Aperture | ISO Setting |
| Aerial fireworks | 20 seconds | F/11 | 100 |
| Fairground rides | 15 seconds | F/16 | 100 |
| Traffic | 30 seconds | F/22 | 100 |
| Flooflit football | 1/124 seconds | F/4 | 1250 |
| Lightning strike | Bulb | F/11 | 100 |
| Stage show | 1/60 seconds | F/4 | 400 |
| Rock gig | 1/125 seconds | F/4 | 800 |
| Floodlit cathedral | 4 seconds | F/16 | 100 |
| Full moon | 1/250 seconds | F/8 | 100 |
| Moonlit landscape | 4 minutes | F/5.6 | 100 |
| Skyline at dusk | 1/30 seconds | F/5.6 | 100 |
| Skyline at night | 15 seconds | F/5.6 | 100 |
No comments so far.
Be first to leave comment below.